
With contractors busier than ever and the cost of building materials increasing, renovating your small bathroom yourself may seem like the only viable option to give the space a refresh without wasting time and money. Fortunately, remodelling a small bathroom is a project you can do yourself without breaking the bank, as long as you do your research in advance, prep your space thoroughly, and follow instructions step-by-step.
Depending on the scope of your project, a small bathroom renovation will cost you under $1,000 and take several weekends to complete.
Throughout the pandemic, home renovations have stayed a popular choice as a way for Canadians to make their living spaces more comfortable. However, the need for a comfortable and functional living space more pressing when all family members are spending every day at home instead of at work or school, and travelling to distant locales is prohibited.
As a result, the demand for home renovations has surged, the cost of building materials has increased, and everything from appliances to lumber has become scarce. As a result, home renovation contractors are also in high demand, with many homeowners reporting long waits for projects to begin or trouble finding a skilled contractor to take on their task at all.
These extra barriers to complete renovation projects have led many homeowners to reconsider hiring a professional in favour of doing it themselves. After all, the bathroom renovation cost of purchasing tools outright might seem like a drop in the bucket compared to the extra cost associated with hiring professionals.
Suppose you’ve found yourself rethinking your small bathroom renovation and considering doing it yourself, congratulations! You can complete a small bathroom consisting of a sink and toilet in a few weekends.
However, if the whole project seems too daunting, even completing portions of the project can save you thousands and accelerate your timeline. Here’s everything you need to know about how to renovate a bathroom.
What Do You Need to Do Before Starting a Bathroom Renovation?

The very first step for renovating your bathroom is to research bathroom renovation ideas. The research phase is often the longest part of any renovation project. It’s in the research phase that you’ll decide on the scope of your project. For example, is your bathroom renovation limited to fresh paint and new light fixtures, or will it be a complete overhaul that includes new flooring, a new vanity, and a toilet?
Once you’ve decided on the project’s scope, you’ll be able to compile a list of the materials you’ll need, which will help you set a budget. It’s essential to create an itemized list of the materials you’ll need in advance to have a clear idea of how much your project will cost. This list of materials should include items like:
- Preparation materials: drop cloths, contractor-grade garbage bags, protective equipment, paint brushes, painter’s tape, rags, buckets, sponges
- Supplies: paint, tile, light fixtures, outlets, flooring, vent fans, mirrors, vanities, toilets, faucets, etc.
- Tools: Tile cutters, drills, sledgehammers, plumbing tools, grouting floats
That said, you’ll most likely forget many little things, so make sure to include extra room in your budget for last-minute purchases.
Finally, you’ll need to research each step of your bathroom renovation project, from removing your toilet and vanity to painting, tiling, and installing new fixtures. The best place to start this process is YouTube, as you’ll find countless videos outlining each process step by step. If there is a particular step you are not comfortable doing yourself (for example, the precision required to lay tile), consider hiring a pro for that specific step.
How to Prepare Your Bathroom for a Renovation
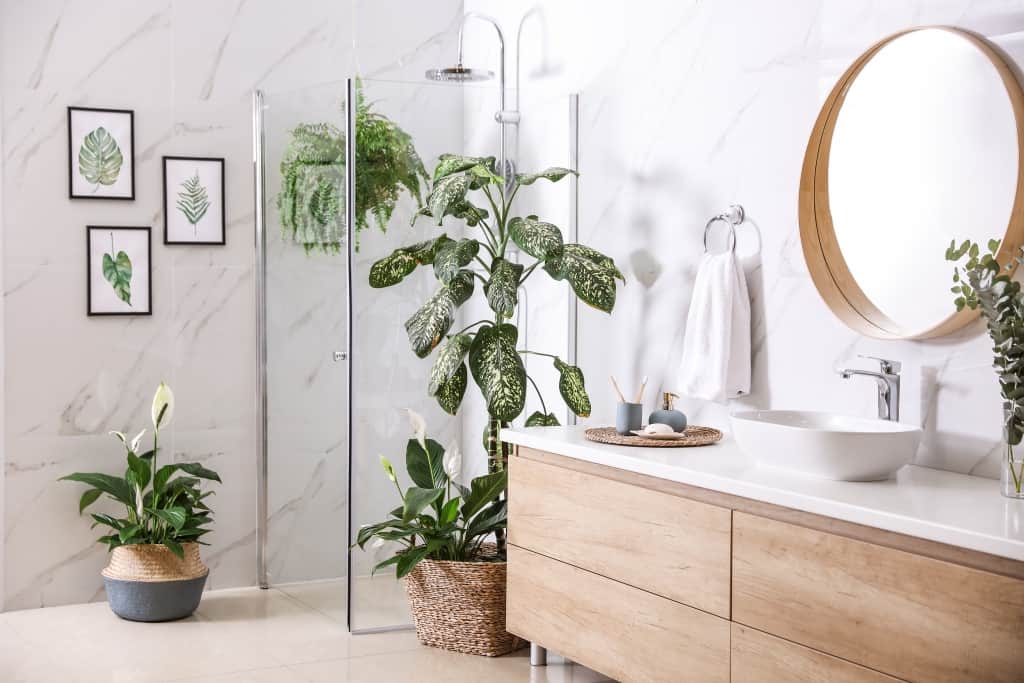
Once you have the research phase completed, it’s time to begin the preparation process. Preparing your bathroom includes acquiring all of your supplies and any teardown or demolition.
Remove All of Your Belongings From the Space
Clear out your toiletries, and remove any fixtures that aren’t permanently affixed, like lights, toilet paper holders, towel bars, and mirrors. An important note here: while it may be tempting to take a sledgehammer to your fixtures, taking the time to remove fixtures correctly will help you avoid damaging walls or plumbing.
When it comes time to remove the water-based fixtures like the toilet and vanity, be sure to triple-check that you’ve turned off the house’s water supply.
Demolish What You Can
Rip up any flooring that you’d like to replace and remove any wainscotting or tiling along the walls of your bathroom. Removing the flooring may reveal some surprises, like a water-damaged subfloor, but it’s an important step to bring your bathroom to the blank slate you’ll need before your renovation can truly begin.
How to Complete a Bathroom Renovation
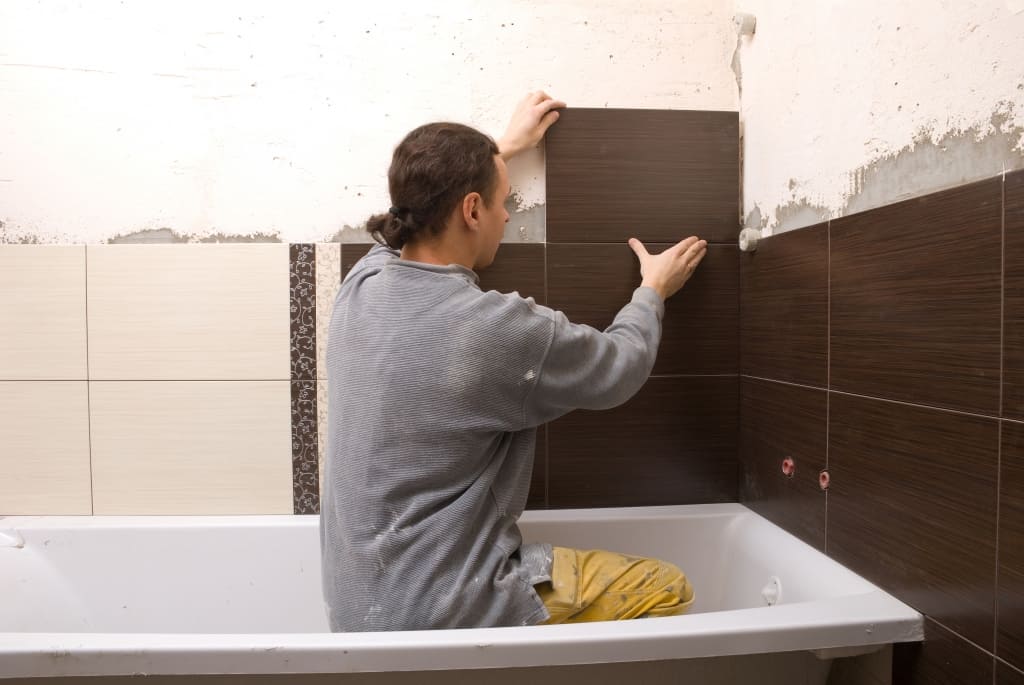
Now that your bathroom renovation project is a blank slate, it’s time to begin rebuilding it, and the first place to start is the flooring.
Step 1: Inspect Your Bathroom’s Subfloor for Water Damage
Your bathroom’s subfloor is the layer of flooring (usually plywood) that rests on your home’s joists, and it supports the flooring you’ll see, like tile or vinyl. Sometimes toilets can develop a slow leak that makes the subfloor wet, and prolonged moisture can eventually rot.
If you observe any dark stains or the subfloor seems soft, you’ll need to replace that section. Next, you’ll need to use a saw to cut out the damaged portion and replace it with new plywood.
Once you have a clean and undamaged subfloor, you’ll need to lay the flooring. Standard options for a bathroom are vinyl flooring, water-resistant, inexpensive, and easy to install, or tile. Tile requires more research and requires you to install it using a waterproof base, then a layer of mortar, then the tiles with spacers.
Once the mortar is dry, you’ll need to grout the tile. Again, there is a wide variety of options if you choose to tile, from tiny penny tiles installed in sheets to large porcelain tiles and everything in between.
Step 2: Choose Your Paint Colours
After you’ve installed your flooring and, if you’ve chosen tile, given it time to cure, it’s time to give your bathroom a fresh coat of paint. But, first, you’ll want to protect your new floors by covering them with paper and taping that paper down with painter’s tape.
For bathrooms, you’ll want to choose a paint that is specifically intended for bathrooms. Those paints usually have anti-mildew properties in a satin finish. If you removed the baseboards and moulding to install the flooring, now is the right time to re-install it and give it a fresh coat of paint as well.
Step 3: Think About Plumbing
Installing your toilet and vanity is undoubtedly the most intimidating part of this project because it involves water and waste, and if done incorrectly, it can cause expensive damage. Fortunately, both are relatively straightforward projects that the average homeowner can tackle with the proper preparation. In addition, most toilets in Canada are designed for a universal installation process, so it should just be a matter of unpacking your toilet and following the included directions.
Vanities can be a little more complicated, as they come in many different shapes and sizes. Some include the faucet, and some don’t. Some are standalone, and some require you to affix them to a wall. That said, most come with instructions and step-by-step directions and can be installed with a few simple tools. When you’ve finished and turned the water back on, make sure to inspect all connections for leaks, and then again several hours later.
Step 4: Pick Out Your Finishes
Finally, it’s time to add the finishing touches. These include a new mirror or medicine cabinet, storage for personal items, light fixtures, new outlets and switches, toilet paper holders, towel bars, and art. While it may be tempting to declare a project complete before these completing these final touches, your bathroom won’t feel like a renovated masterpiece without these last finishing touches.
Fortunately, compared to demoing a floor, laying tile, and plumbing, these final steps are a breeze and won’t take more than an afternoon to complete.
Mix and Match the Steps to Customize Your Bathroom Renovation
No two bathrooms are the same, and the steps we’ve outlined above aren’t the same for every bathroom. If your small bathroom doesn’t need new tile or the toilet is in perfect condition, skip that step. On top of that, if there are parts of your bathroom renovation that you aren’t confident tackling, like tiling or plumbing, it’s perfectly acceptable to hire out those specific sections of your project. Just be prepared to wait for contractors, as demand is surging for home renovations.
Top Tips for Your Small Bathroom Renovation
While the step-by-step guide above offers a general outline of your bathroom renovation, here are our top tips to make your project go smoothly:
- Add a 15% buffer to your budget for supplies you may have forgotten about.
- When removing your toilet, flush it several times to remove as much water as you can, and place the toilet into a garbage bag to prevent water from dripping.
- Consider hiring an electrician to add an outlet to your vanity’s drawer. You can use this outlet to charge razors and electric toothbrushes out of sight.
- Consider adding technological innovations like timed bathroom fans and smart or dimmable lighting.
- Don’t skimp on brass fixtures, as they may tend to degrade with repeated exposure to moisture.
- Consider polyvinyl chloride (PVC) instead of classic wood, which may retain moisture and bubble.
- YouTube is your friend! The more research you do on the correct way to install a toilet, or tile a floor, or install a light fixture, the easier the process will be.
Renovating a small bathroom could be an expensive endeavour that takes months for a professional to complete, or if you opt to do it yourself, it could be finished in a few weekends and under $1,000. Fortunately, the tasks involved in a minor bathroom renovation are accessible for the average homeowner to master. With a bit of know-how and preparation, you can make your bathroom space an oasis and reflection of your tastes.